
Did you know that Girl Scout Cookie season is almost here? I didn't. I haven't bought any in years! But I know many people that look forward to those cookies for months. They seem to be the Holy Grail of pre-packaged cookies. I've seen the Keebler knock-offs, and taste-tested them! While their Thin Mint copycats are pretty close, their Samoas aren't remotely. I think I'll have to tackle those too, theyre my personal favorite!
Now, is it just me, or are the boxes, AND the cookies, getting smaller and smaller? And costing more and more! For shame, Girl Scout Cookie makers!! Obviously it isn't the girls' fault. Well, if Thin Mints are your cookie-craving of choice, prepare to be amazed, and save LOTS of money. Because this recipe is dead-on. I looked through quite a few before settling on this one. One recipe even had Ritz crackers in it!! Now I am sorry, but there are no Ritz crackers in Thin Mints. This is the one that convinced me!
(PS- She has gorgeous step-by-step pictures, I'd recommend taking a peek!)

Printable Recipe
8 ounces butter (1 cup or 2 sticks) softened
1 cup unsweetened cocoa powder (I used Dutch dark cocoa powder just like the original!)
1 cup powdered sugar
1 tsp vanilla
¾ tsp salt
1 ½ cups all purpose flour
For the coating:
10 ounces semi-sweet baking chocolate
1 ½ tsp peppermint extract (Make sure you get peppermint, not spearmint!)
Preheat your oven to 350 degrees.
10 ounces semi-sweet baking chocolate
1 ½ tsp peppermint extract (Make sure you get peppermint, not spearmint!)
Preheat your oven to 350 degrees.
Beat butter until light and fluffy, then add the powdered sugar and mix until smooth. Mix in the salt, vanilla and cocoa powder, until the batter looks like thick frosting. This will take a bit, be patient! Add the flour and mix just until the flour is combined. Don't over-mix!

Form dough into a ball and knead a together a few times to soften the dough, then flatten into a disk about 1/2-1 inch thick. Cover in plastic wrap and place in freezer for 15 minutes.

Remove dough from the freezer and roll it out on a floured surface, about 1/8-inch thick. (I like to put parchment paper down first, then flour it a bit. This dough is a bit stiff, and may crack a little around the edges. No worries! Just smoosh it back together.) Cut the cookies into 1 1/2 - 2 inch circles. (I used these little glass cups I have, you could use anything! I noticed that most of my spice jars had lids just the right size. Be creative!)

Place cookies on a parchment-lined baking sheet and bake for 10-11 minutes. You want these crunchy! Remove the cookies from the oven and allow them to cool completely. When the cookies are cooled, make the chocolate coating!

Chop the baking chocolate into very small pieces. Place chocolate in a microwave-safe dish, preferably glass, and place in the microwave for 30 seconds. Stir well, and repeat one or two more times, till the chocolate is completely melted. Stir in the peppermint extract, until the chocolate is nice and smooth again.

Gently drop the cookies, one at a time, into the coating. Flip them over to cover both sides, then lift the cookie out of the chocolate with the fork and tap the fork on the side of the bowl so the extra chocolate can drip off. This also helps smooth out the tops. Place covered cookie on a parchment or plastic wrap-lined baking sheet, and repeat for the rest of the cookies. If you want them to set quickly, place them in the refrigerator for a bit. They may set just fine at room temperature. (This wasn't quite enough chocolate for me, next time i would do half-again as much, or maybe even double it!)
It's not very often I follow a recipe exactly, but I had a feeling I probably shouldn't mess with this one. And I'm glad I didn't! These knock-offs are perfect!

I never realized the mint was just in the chocolate, and was a bit worried, but it tastes just like I remember! Now, make sure those cookies are crunchy before you cover them. Snap one in half just to make sure. I didn't, and half of mine were too soft. They're not quite right when they're soft. Oops!!

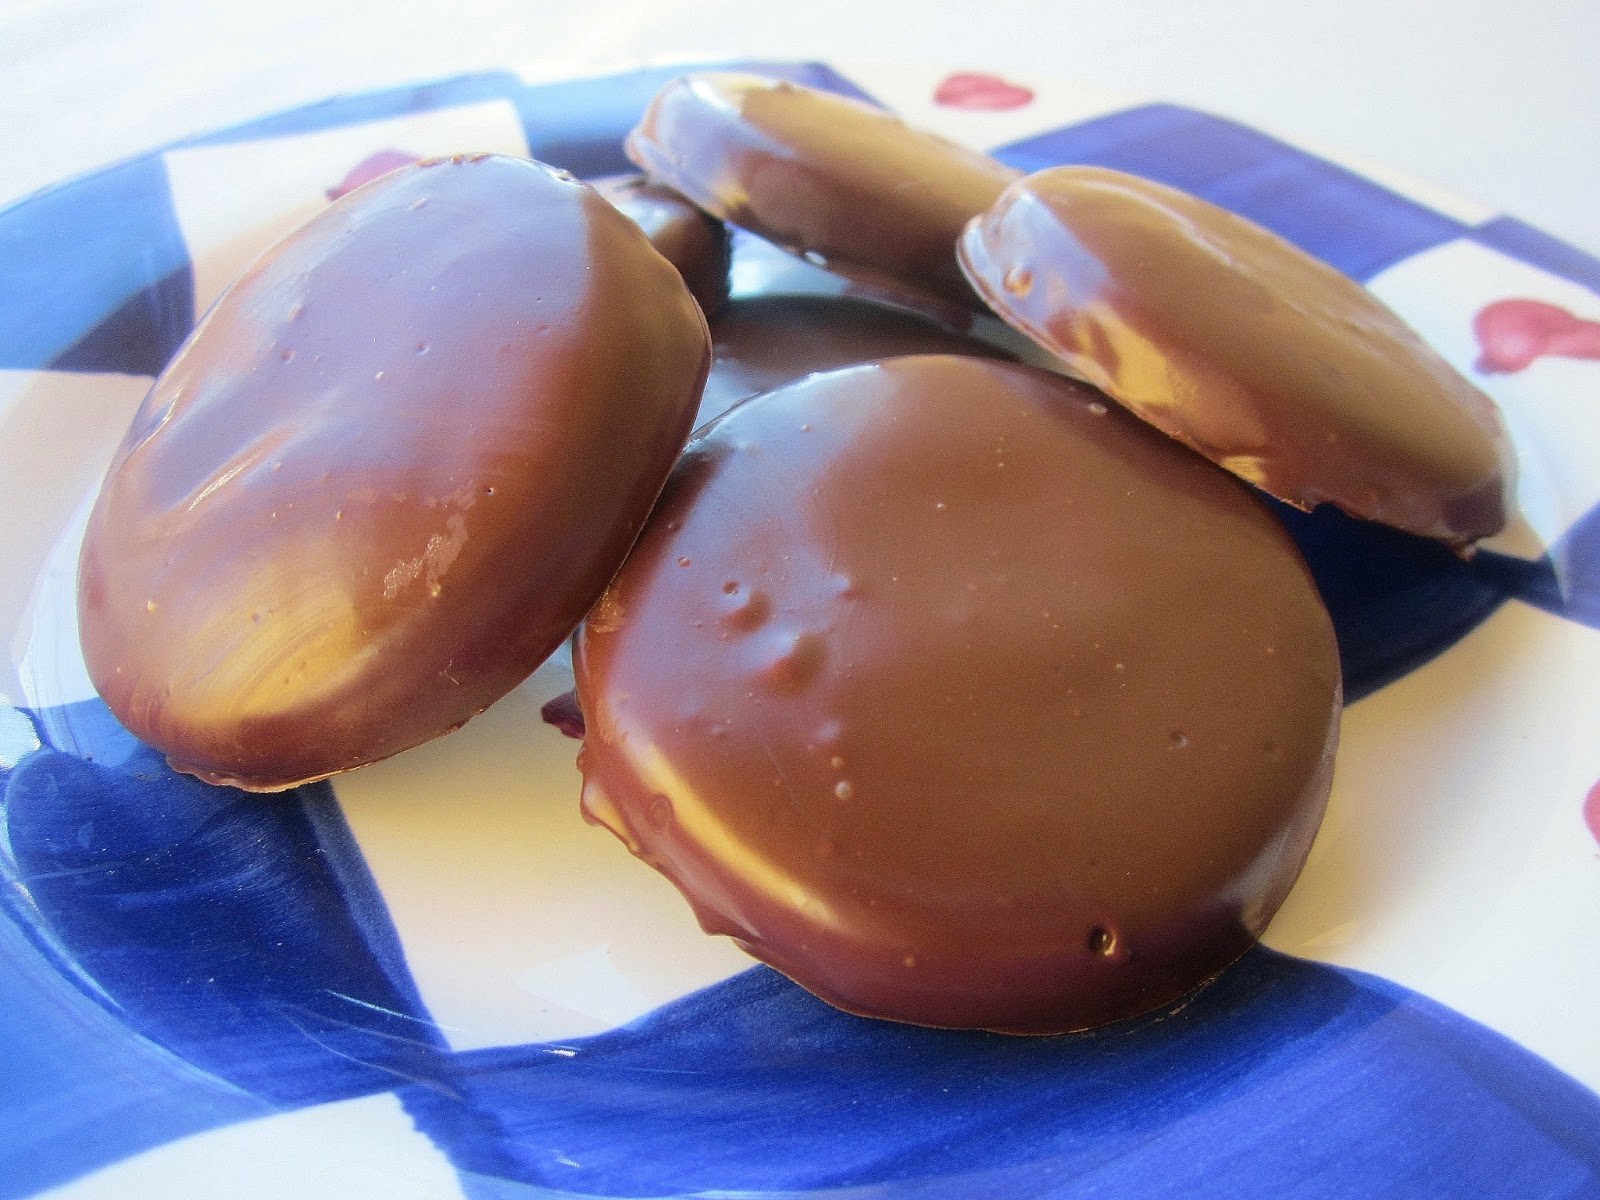
Fudgy, Minty, Crunchy, yummy! Now you can make Thin Mints year-round, for MUCH less than those tiny boxes.

The Chocoholic (I mean, Geologist :) has given them his seal of approval. And he has become very picky about such things, the more I bake, so you can believe him! I hope you try them, they're such fun!
Shared at On the Menu Monday and The Sunday Showcase
have to try making these! thanks for sharing!
ReplyDeleteamy
Hope you love them! Thanks for stopping by :)
DeleteWow, April, you are amazing! These look perfect! I am in awe of you. I love that you are not afraid to jump right in and just make things like this. And I also love that you share your experiences with us. It's win/win!! This chocoholic would love them too! xxoo
ReplyDeleteThese sound yummy, I'm going to have a go making them!
ReplyDeleteHooray! You'll love them!
DeleteOh heavens...these look divine!
ReplyDeleteAccording to my chocoholic husband, they are! And I think they're pretty yummy too :)
DeleteOh goodness gracious. I must try these!!!
ReplyDeleteHi April! These cookies are defiantly on the dangerous side:) My all time favorite cookies!! I'm Lynn H @ Turnips 2 Tangerines and I am nominating you for The Liebster Blog Award! To find out more about this award go to; http://www.turnips2tangerines.com/2013/01/liebster-blog-award.html Congrats!
ReplyDeleteOh, those look heavenly!
ReplyDeleteOn January 9,2013, my 4th blogaversary, I was awarded the Liebster Award by a fellow blogger. I am passing on this honer to you for having such a wonderful blog. Read more about here http://tammyinwv.blogspot.com/2013/01/i-have-my-first-blog-award.html
ReplyDeleteI have a taste test planned myself between the real thin mints and 3 recipes I found...I will add yours to the mix! I am just waiting until girl Scout cookie time :)
ReplyDeleteI'm not sure if I would make them again because it is a bit time-consuming, but I guarantee they taste JUST like the real thing! :)
Delete