
I absolutely love Gyros, but I gave up re-creating them at home a long time ago. If Cooks Illustrated can't get it right, it's just not possible, people! Unless I buy a vertical spit and have some Greek guy teach me how to make them... and where to find good lamb... unlikely. So I started seeing lots of chicken gyro recipes around Pinterest, (which got me excited, because I am a chicken girl!!) but none of them looked right. Hard to describe what that means, but there it is! Until I saw this one, and alarm bells went off it my head. Could it be?? It looked perfect!! Saucy... well-seasoned... homemade tzatziki... looks good... wait a second. She made her own pita bread?! We have a winner, folks!! Thank you, Tieghan at Half-Baked Harvest!!

Chicken Gyros (adapted from Half-Baked Harvest)
Printable Recipe
Chicken:
4 cloves garlic, smashed
juice of 1 lemon
3 tsp red wine or balsamic vinegar
3 Tb extra virgin olive oil
3 Tb plain Greek yogurt (I used 2 %)
1 tsp dried oregano
1/2 tsp dried dill
Salt and pepper
1 1/2-2 pounds boneless chicken, trimmed cut into thick strips/chunks (we had 2-3 pieces per chicken breast)
juice of 1 lemon
3 tsp red wine or balsamic vinegar
3 Tb extra virgin olive oil
3 Tb plain Greek yogurt (I used 2 %)
1 tsp dried oregano
1/2 tsp dried dill
Salt and pepper
1 1/2-2 pounds boneless chicken, trimmed cut into thick strips/chunks (we had 2-3 pieces per chicken breast)
Tzatziki Sauce:
16 ounces plain greek yogurt (I used the rest of that 2%)
1/2 English cucumber or 1 regular cucumber, peeled and seeded and diced small
2-3 cloves garlic, pressed (or finely minced)
1 Tb white wine vinegar
1 tsp, dried dill
1 tsp dried oregano
half a fresh lemon, juiced
1 Tb extra virgin olive oil
To Serve:
Homemade Pita Bread (recipe below)
tomatoes
feta cheese
mixed greens (or lettuce)
thinly sliced red onions, marinated in a few Tb balsamic vinegar and a pinch of sugar
olives (the original recipe has an olive tapenade recipe, if you like olives!)
Chicken first! Combine the garlic, lemon juice, red wine vinegar, olive oil, Greek yogurt, oregano, dill, and salt and pepper to taste in a medium bowl. (I estimated about 3/4-1 tsp of salt) Whisk together until smooth. Add the chicken pieces to the bowl and mix well to coat. Cover and refrigerate for about 1 hour or overnight. (Or you can combine it all in a ziplock bag)
Chicken first! Combine the garlic, lemon juice, red wine vinegar, olive oil, Greek yogurt, oregano, dill, and salt and pepper to taste in a medium bowl. (I estimated about 3/4-1 tsp of salt) Whisk together until smooth. Add the chicken pieces to the bowl and mix well to coat. Cover and refrigerate for about 1 hour or overnight. (Or you can combine it all in a ziplock bag)
Next, the Tzatziki! First, pour any liquid off the surface of the Greek yogurt. (Full fat or 2% work best, nonfat is a bit thin) Combine the cucumbers, lemon juice, and a pinch of salt. Toss to combine, then put them in a wire mesh strainer over a small bowl. Let sit in the fridge for about 30 minutes. This helps get rid of extra water in the cucumbers that can make your sauce watery. Mix together the yogurt, marinated and drained cucumber, garlic, white wine vinegar, dill, oregano, olive oil, salt and pepper to taste, and another drizzle of lemon juice. Refrigerate for at least 30 minutes before serving to allow the flavors to meld.
When you're ready to cook, preheat your broiler. Line a large rimmed baking pan with foil. Remove the chicken from the marinade, reserving the marinade. Place the chicken on the baking pan and broil the chicken for 10 minutes until cooked through.
 Let the chicken rest about 5-8 minutes, then slice up into smaller pieces. Pour the remaining marinade in a medium size skillet and bring to a boil. Simmer for a few minutes and then toss the cooked chicken with the sauce.
When you're ready to cook, preheat your broiler. Line a large rimmed baking pan with foil. Remove the chicken from the marinade, reserving the marinade. Place the chicken on the baking pan and broil the chicken for 10 minutes until cooked through.


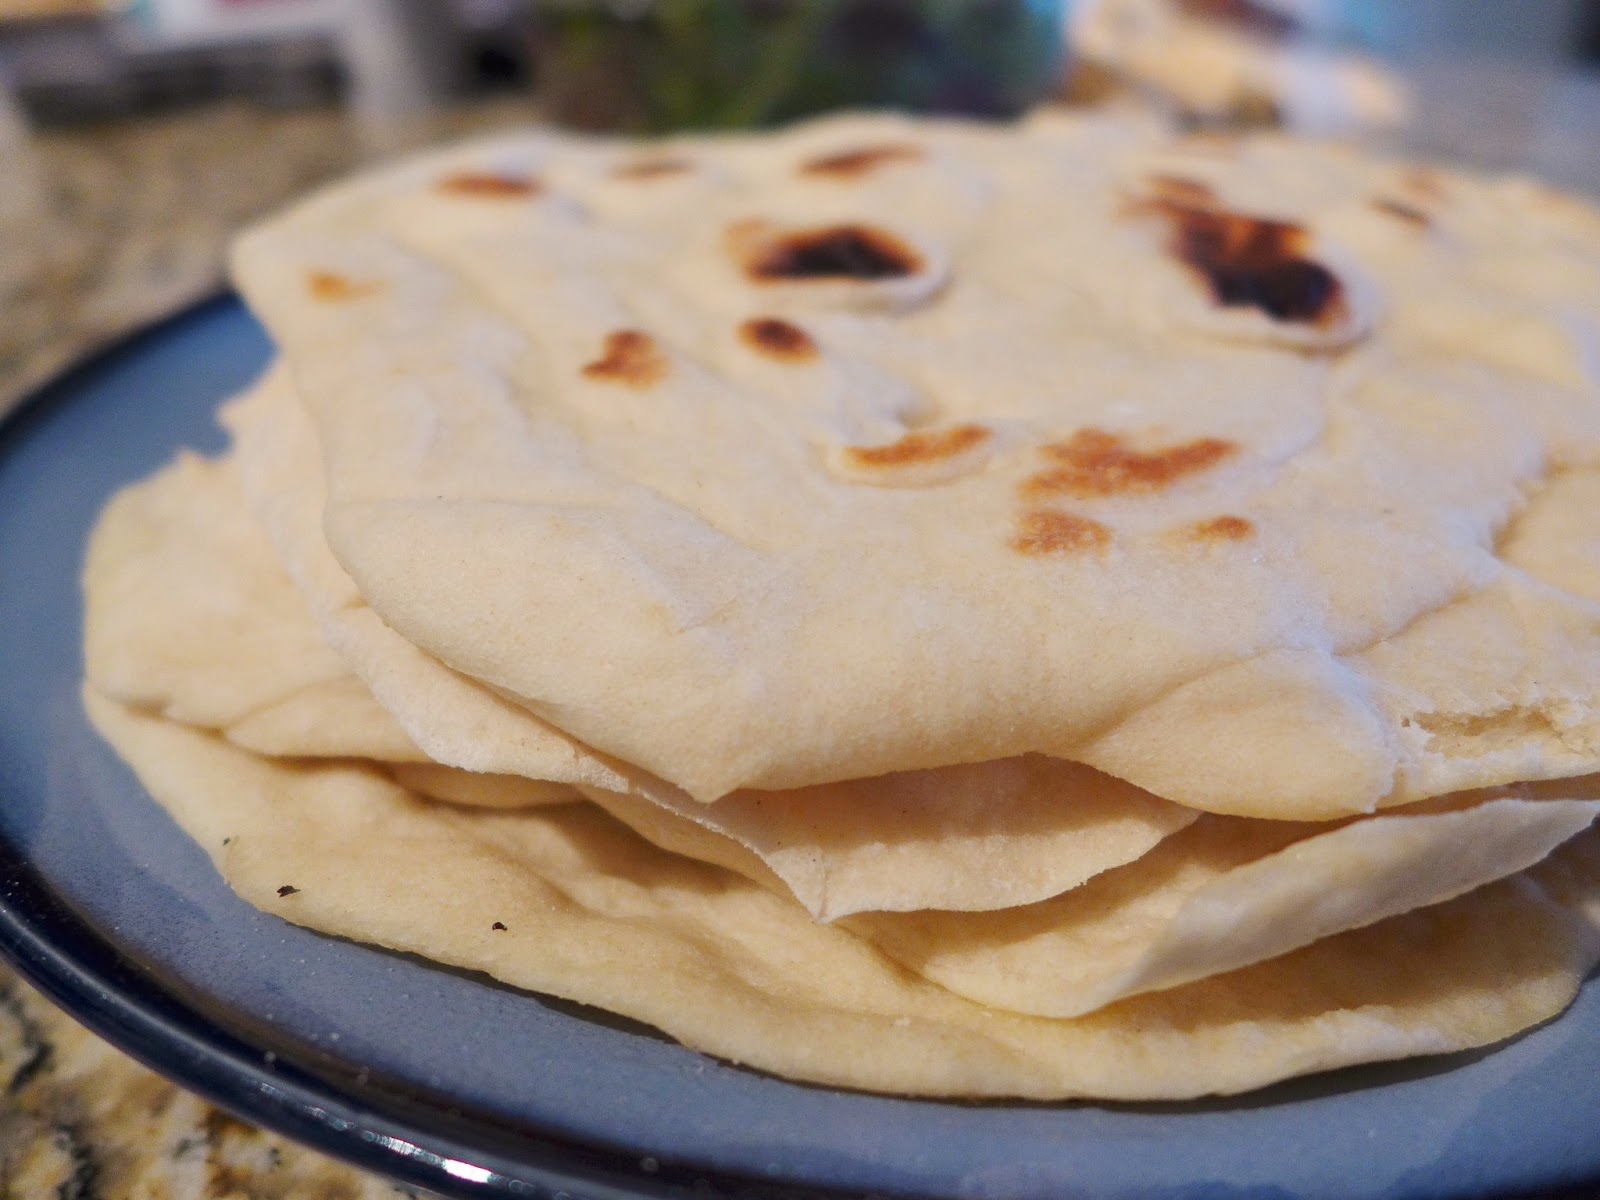
Homemade Soft Pita Bread (also from Half-Baked Harvest)
1 cup pretty warm water
2 tsp active dry or instant yeast
2 1/2 - 3 cups all-purpose flour
2 tsp salt
1 Tb extra virgin olive oil
Combine the water and yeast together in the bowl of a stand mixer or large bowl. Let sit for about five minutes until the yeast is dissolved. Add 2 1/2 cups of the flour (saving the last half cup for kneading), salt, and olive oil. If using a stand mixer attach the dough hook and knead the dough on medium speed for 8 minutes, adding more flour if needed until you have a smooth dough. (I didn't need any more) If kneading by hand, sprinkle a little of the extra flour onto your clean work surface and turn out the dough. Knead the dough for about 5-7 minutes, until the dough is smooth and elastic. Add more flour as needed to keep the dough from sticking to your hands or the work surface, but try to be sparing. It's better to use too little flour than too much.
Clean the bowl you used to mix the dough and drizzle it with a little olive oil. Set the dough in the bowl and turn it until it's coated with oil. Cover with a clean dishcloth or plastic wrap and let the dough rise until doubled, about 1 hour. *At this point, you can refrigerate the pita dough until it is needed. You can also bake one or two pitas at a time, saving the rest of the dough in the fridge. The dough will keep refrigerated for about a week.*
When you're ready to bake, gently deflate the dough and turn it out onto a lightly floured work surface.
 Divide the dough into 6-8 equal pieces and gently flatten each piece into a thick disk. (I did 8, and my pitas were a bit thin. If you like them thicker, divide into 6 pieces) One at a time, roll each piece into a circle(ish) shape 8-9 inches wide and about a quarter inch thick.
 Sprinkle with a little extra flour if it starting to stick. If the dough starts to spring back, set it aside to rest for a few minutes, then continue rolling. Repeat with the other pieces of dough. (Once you get the hang of it you can be cooking one pita while rolling the next one out.)


Warm a cast iron skillet over medium-high heat (you want a hot pan). Drizzle a little oil in the pan and wipe off the excess. Lay a rolled-out pita on the skillet and bake for 30 seconds, until you see big bubbles starting to form.


Best EVER?? Better than Farmer's Market? Seems to good to be true. I love the idea of greens. Iceberg is so lame. Those tomatoes look gorgeous! What kind are they? I will have to try this.
ReplyDeleteAh, but I said AS good as a lamb/beef one. Which is as much as you can ask for!
DeleteGreat looking recipe, I'll definitely have to try it. Have you ever had kibbe? It's a Lebanese dish, made with ground lamb, bulghur, spices, pine nuts, onions and a few other things, and baked in the oven. A friend of mine whose family was from Lebanon would thinly slice the kibbe her mother would bring her, and would make mock gyros from them with cucumber and the sauce on store bought pita, when we were in college together.
ReplyDeleteOn to the wisdom teeth, I hope your oral surgeon warned you about the risks of over packing the sockets with gauze, disrupting the clot that forms to protect the socket and the risk of dry socket, also chewing risks the stitches coming loose. Moving your jaws so much is verboten. My daughter just had all four of her wisdom teeth removed last fall, and she learned the hard way. You don't want to end up getting a bad infection and having to be re-sutured and start all over again, do you? . I know how frustrating it can be after wisdom teeth extraction, but you have to roll with it and stick to a diet of liquid and smooth textured foods.
Mmmm, kibbe sounds delicious, I'll have to start looking for recipes! Thanks for all the tooth advice, I was a VERY good girl for the first 4 days, then I did get dry sockets. Kinda figured I would, since I'm on blood thinners, but oh well. They're getting better now, I only pack them for dinner, then stick with smoothies the rest of the day. After all, I had to taste test this recipe for you!! :)
DeleteApril, I have a Kibbe recipe on my page that is fantastic. Delicious! Loving the look of these Gyros. I think over here they call them Kebabs, which is wierd because they aren't on a stick, but they do roast them on a big spit at the local chippies and then slice the meat off in slabs onto the pita breads. You can get meat ones (mystery meat I think!) or chicken ones. I Like the chicken ones. You amaze me with all that you experiment with and try. You are one very cool chickie-poo!! xxoo
ReplyDeleteI have been using your pita recipe for years using my bread maker, and it turns out perfectly every time. Thank you!
ReplyDeleteThank you so much for letting me know, that makes my day! I'm so glad you enjoy it!
Delete